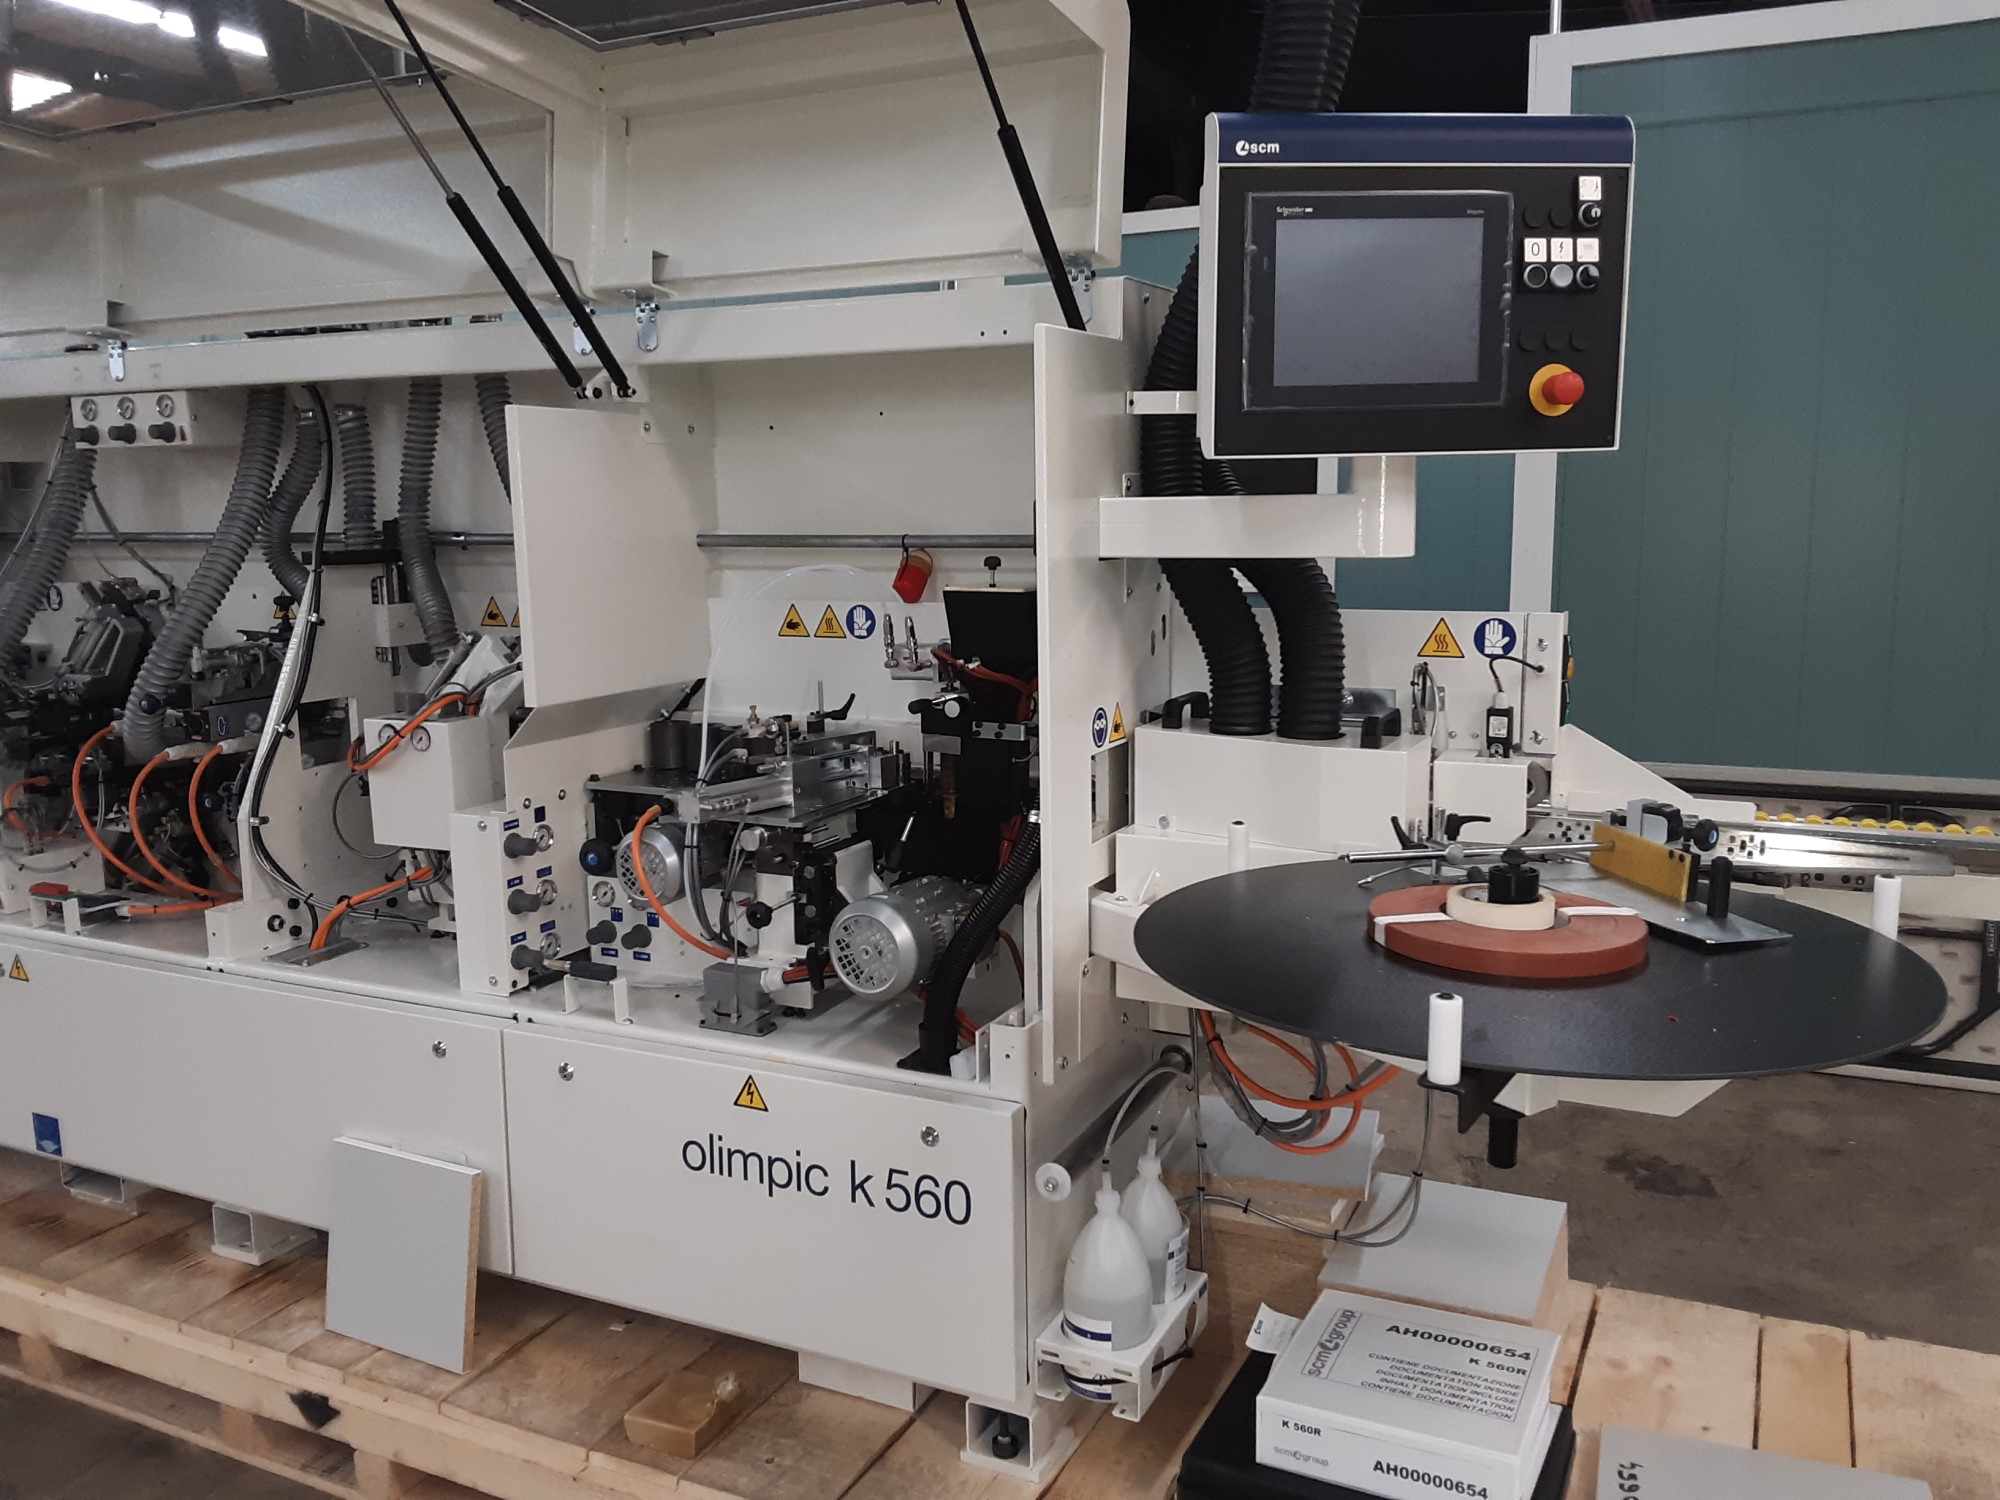
Paying a little attention to proper setup and regular maintenance will go a long way to keeping your edgebander productive.
Edgebanders are the central machine in today’s panel-driven cabinet shop, but they are a complex machine and have a reputation for being a bit finicky. The reality is that paying a little attention to proper setup and regular maintenance will go a long way to keeping your edgebander productive. Here are some tips.
Get a good operator
The first thing I used to tell my customers when traveling across the country to install edgebanders was to choose their most mechanically motivated, conscientious employee to operate the machine. That operator should be the only employee making adjustments on the machine Confessions of a Backpacker. One wrong adjustment on one portion of the machine can affect the performance of other areas and your final product outcome.
Clean and maintain
Keep the machine clean, blowing it off periodically so that debris does not interfere with the components that come in contact with the panels. And, of course, fix any known problems prior to running your panels as instructed in the owners manual. Lubrication is a must and should be a part of your normal maintenance procedure.
Panel quality
Good edgebanding means you must prepare perfect panels. They should be at room temperature, perfectly square, all four corners one side to the other. The edge should be exactly 90 degrees from the surface.

Adjusting pressure rollers is important to smooth operating.
Test panel
Before starting to edgeband in production, run a test panel to make sure that the panels move through the machine in a straightforward fashion. Here’s the procedure I use to run a test panel.
First, back off the pressure to the glue pot and the pressure rollers so that none of these come into contact with the test panel. Next, adjust the beam height for the correct panel thickness. With the track running, take a very straight, square, parallel panel roughly 6 feet long and insert it into the machine, holding a firm side pressure on the panel so it rides against the side guide/fence/rail.
Stop the panel after it fully enters the machine. Then find a way to carefully measure both the leading and trailing ends of the panel to a fixed, consistent part of the machine, such as the beam that contains the rubber belt or rollers. If the difference between the front and back is more than 0.5mm, the panel will be going crooked through the machine. Adjust the side guide/rail and re-run the test panel. It might take a few runs and rail adjustments to get the panels into the correct position.
Finally, adjust the side guide/fence if necessary to keep the difference to about 0.5mm or less. A tightly pulled string or laser can be used to adjust the guide as well. It might take several attempts to correctly adjust the side rail, but it’s worth it for smooth, consistent operation.

Regular cleaning and attention to proper glue temperatures will help stretch the times between glue pot rebuilds.
Set the glue pot
Now that we have a good operator in place, a cleaned and well-maintained machine, and straight-tracking panels, we can adjust the machine stations that do the work.
Pulling the glue pot and pressure rollers away, leave or re-insert the test panel over the glue pot and pressure rollers area. Next, adjust the shoe away from the panel (the shoe is the steel plate that panels first contact, just prior to the glue roller). Adjust the shoe in toward the glue pot that it is mounted to. Get this as close to the glue pot as possible.
Reapply pressure only to the glue pot and gradually adjust the glue pot toward the panel. Leaving only the glue roller just touching the panel. If the glue pot has been used prior, wipe or scrape off excess glue providing a clean surface against the panel. Then move the pot in toward the panel an additional 1mm and stop.
The final step in the glue pot setup is to gradually move the shoe back toward the panel, just touching the edge of the panel. This will be in the same position as the glue roller. Continue adjusting the shoe until you only have 0.1mm clearance between the panel and glue roller using a feeler gauge.
The shoe is designed on a bit of an angle, so that panels going through the machine connect with the shoe gradually deflecting the glue pot. This keeps the panels from contacting and eventually wearing out the expensive glue roller.
Once you have it set, this is the glue pot’s permanent position for all production. Do not readjust.

It’s important to adjust clearances so panels travel straight and smooth through the edgebander.
Set for banding
Now take a small strip of whatever banding you will be using and slide it between the pressure rollers and the panel still in the machine. Bring the rollers forward, under pressure, until they barely grip the banding, then proceed another 1mm.
You can use this same process with any component that uses a spring or air-loaded system like the glue pot. This applies to top and bottom trimming, buffing, and possibly your machine’s end trimming.
Keep in mind that unless your machine has automatic controls of these components that anytime you change banding thickness, you will need to retest and adjust per our earlier discussion to keep the 1mm.
Again, do not readjust the glue pot. It does not need to be adjusted for band thickness changes.
Glue pot tips
And now let’s go back to the Achilles Heel of our edgebander machines, the glue pot. If you’ve made the above mentioned adjustments, your glue pot is now set up properly. Here are a few other pointers that will help you to keep your glue applicator in good working condition between rebuilds.
Maintain the proper temperature of the glue according to the glue manufacturers’ recommendations. Turn the temperature down to about 140 degrees Celsius if you are not going to run production for more than an hour. Gently scrape away any crusted glue that you can easily access without it falling down into the glue pot basin.
Main pot reservoir:
Follow machine manufacturer lubrication and maintenance guidelines. Make sure to use high-temperature grease 400+ degrees Fahrenheit. When your initial glue heat-up time lengthens significantly, or your evenness and adjustability of glue spread deteriorates, it’s time for a rebuild.
Bad gluing on the panels affects band adhesion. Too much or too little glue will interfere with proper working of your machine’s other components and ultimately the quality of your end product.
If you run production greater than 20 hours/week, consider having a backup glue pot readily available to put on the machine while your primary is being rebuilt.
We hope this information increases your productivity and length of time between rebuilds.
Link to Original Article on Woodworking Network
https://www.woodworkingnetwork.com/news/woodworking-industry-news/keep-your-edgebander-working-you

